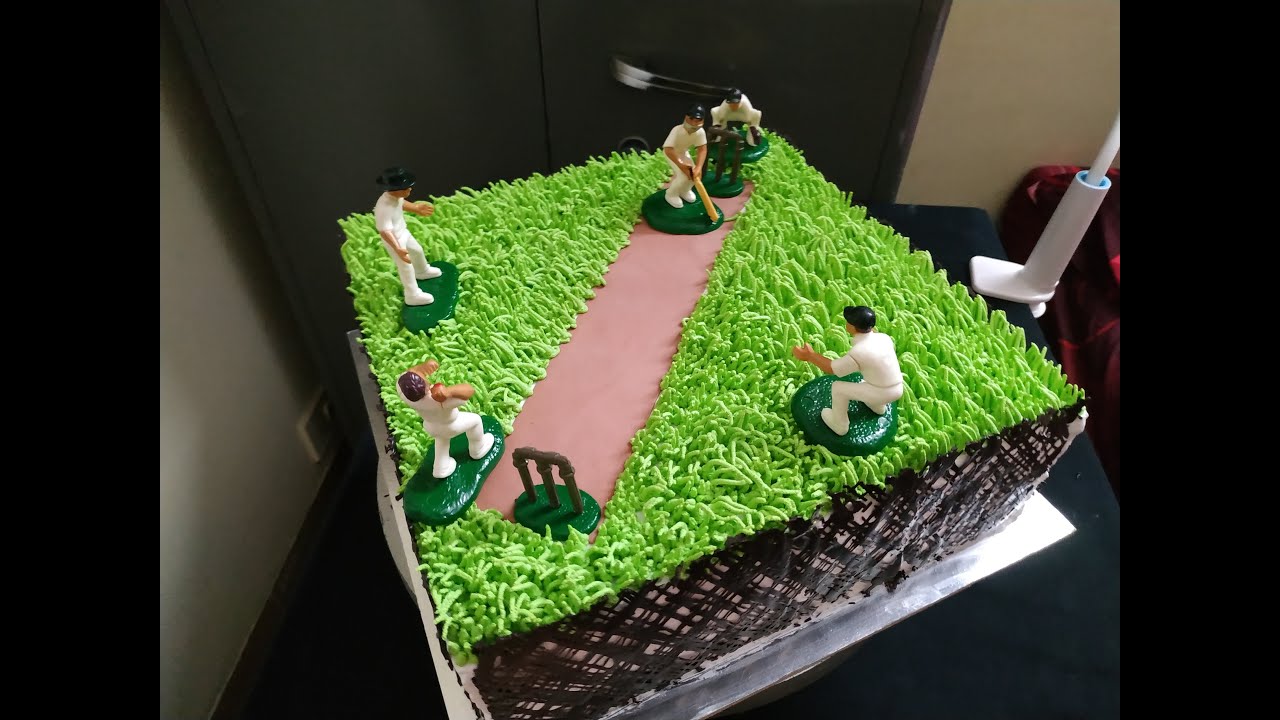
Alright folks, gather ’round! Wanted to share my kitchen adventure today – trying out some cricket cake decorating tricks. Yeah, sounded wild to me too at first, but man, the results!
Getting Started & Utter Chaos
So, I had this plain vanilla cake I baked yesterday. Decent taste, kinda boring look. Figured, why not try making it look like a cricket? Big mistake initially. Grabbed my usual buttercream, tried piping directly onto the cake. Total disaster. The icing was way too soft, the cricket legs I piped just slumped everywhere. Felt like I was trying to build a sandcastle with wet sand.
Scraped all that off. Almost gave up. Decided I needed something sturdier.

Switching Gears – Found My Go-To Trick!
Rummaged through my supplies. Found some old fondant – the stiff kind. Lightbulb moment! Remembered this simple trick: moulding. Way easier than piping fragile details.
- Rolled tiny fondant sausages for legs and antennae.
- Shaped a slightly bigger oval for the body.
- Used a toothpick to poke tiny holes where the legs attached to the body.
- Stuck them in – boom! Instant structure.
Felt so dumb for not thinking of it first. Piping is overrated for complex shapes!
The Paintbrush Made It Pop
The plain fondant cricket was okay, but lifeless. Needed colour! Didn’t have fancy edible paints handy. Improv time.
Took some cocoa powder, mixed it with a tiny splash of water and a drop of vodka (for drying speed!). Dipped a clean paintbrush in.Hand-painting details changed everything. Brushed on stripes, little dots for eyes, dark tips to the antennae. The control was amazing! Way better than messing with tinted icing bags.
Sticking It Down Securely
Getting the cricket onto the cake was the last hurdle. Tried buttercream again… nope, too slick. The cricket kept sliding.
Tore off a tiny piece of paper towel, dabbed it with water, squeezed out all the excess. Pressed this damp little tissue bit onto the cake where I wanted the cricket. The damp tissue trick creates instant grip! Pressed the fondant cricket base onto it. Held perfectly! Didn’t budge, even when I tilted the cake slightly.
And there you have it! Seriously stunned how professional it looked for basically using kitchen scraps and simple moves. No crazy tools needed. Mould the shape, paint the details, damp tissue for sticking. Simple as that! Will never go back to my messy piping attempts for figures again.


